> ## Documentation Index
> Fetch the complete documentation index at: https://studio-docs.prem.io/llms.txt
> Use this file to discover all available pages before exploring further.
# Autosplit a Dataset
> Learn how to autosplit a dataset into training, and validation sets.
# What is Autosplit?
Autosplit distributes your uncategorized datapoints between Training and Validation sets.
# How to Autosplit a Dataset
Click the Autosplit button on the top right of the screen to autosplit your dataset.
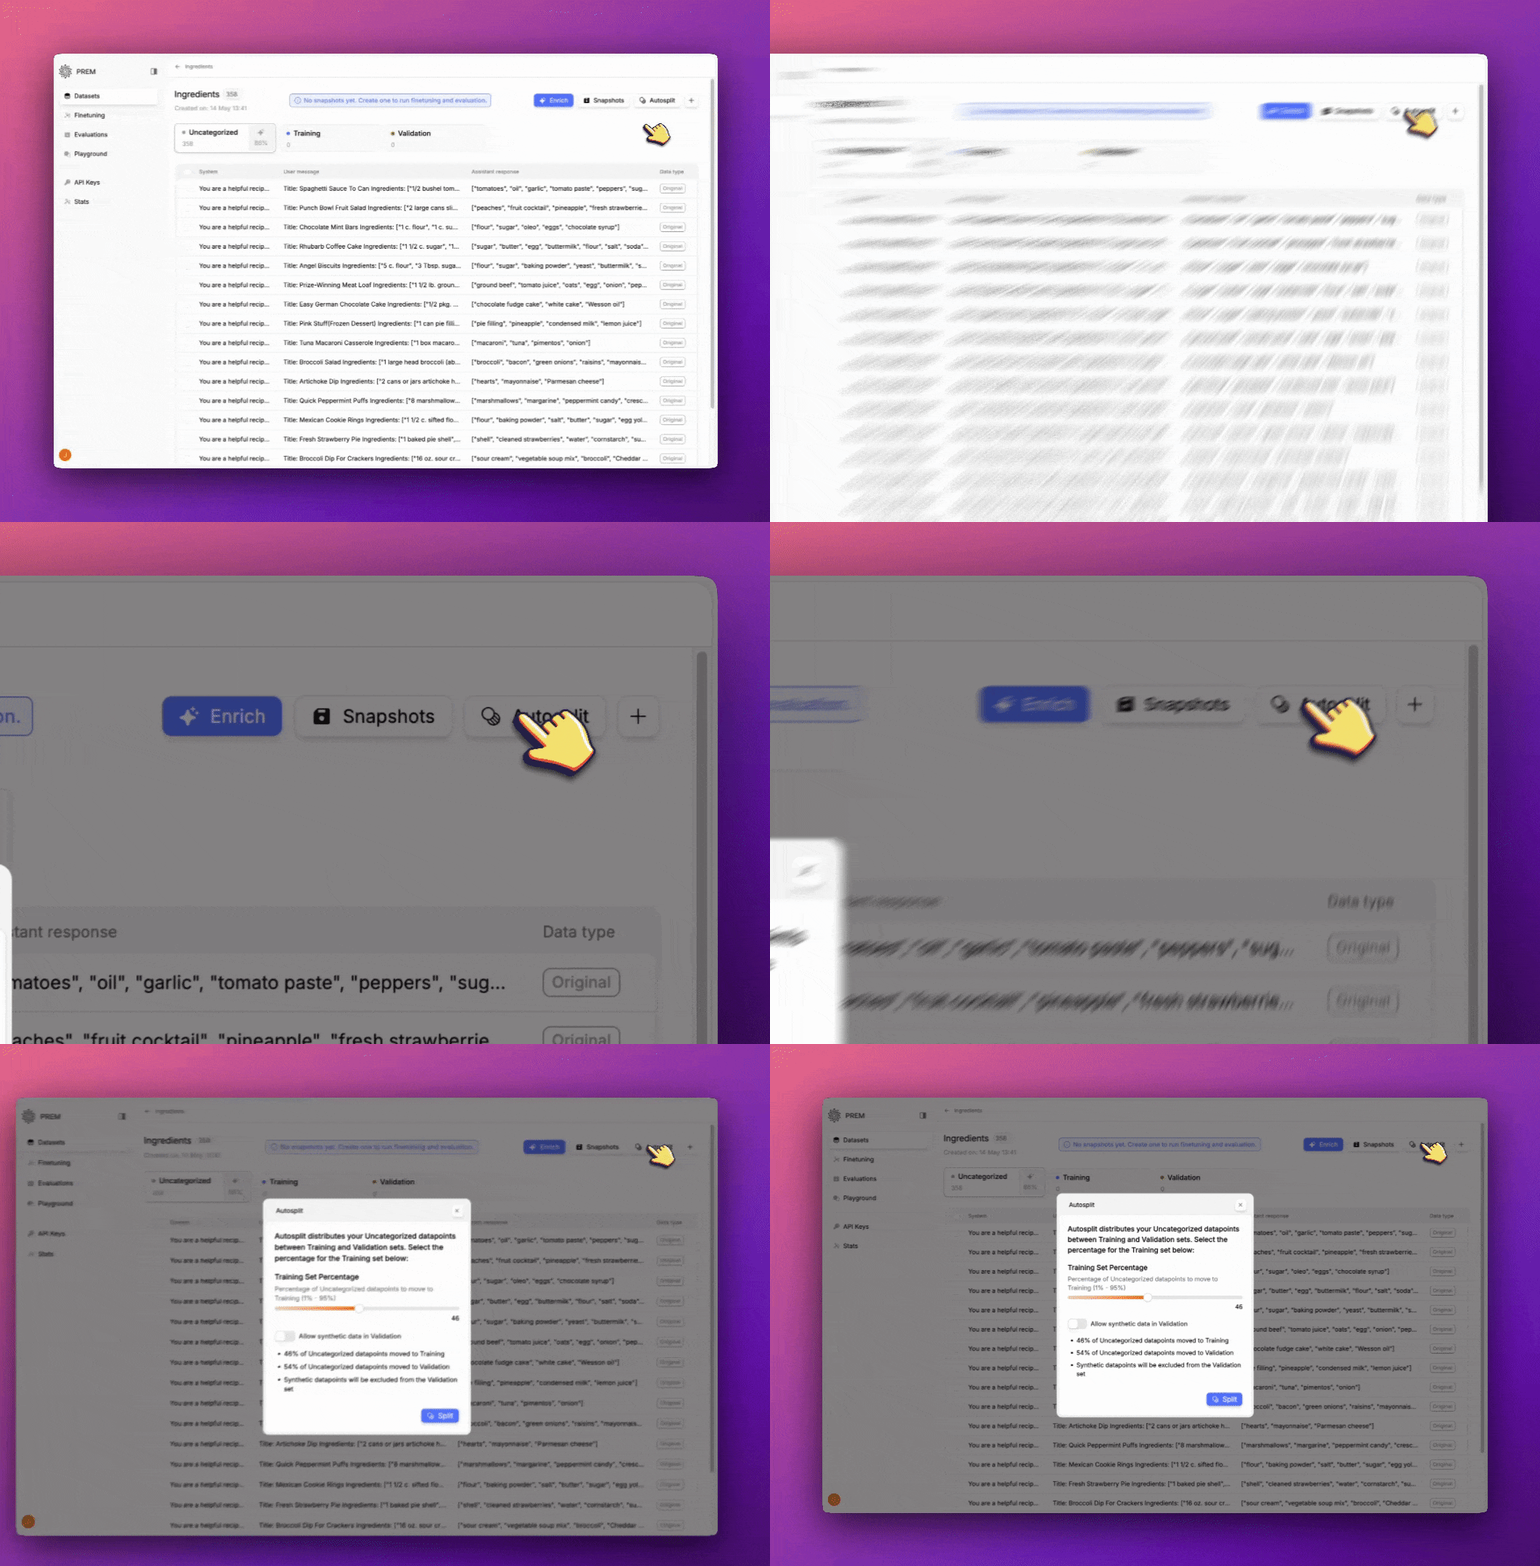 Select the percentage of datapoints you want to split into training and validation.
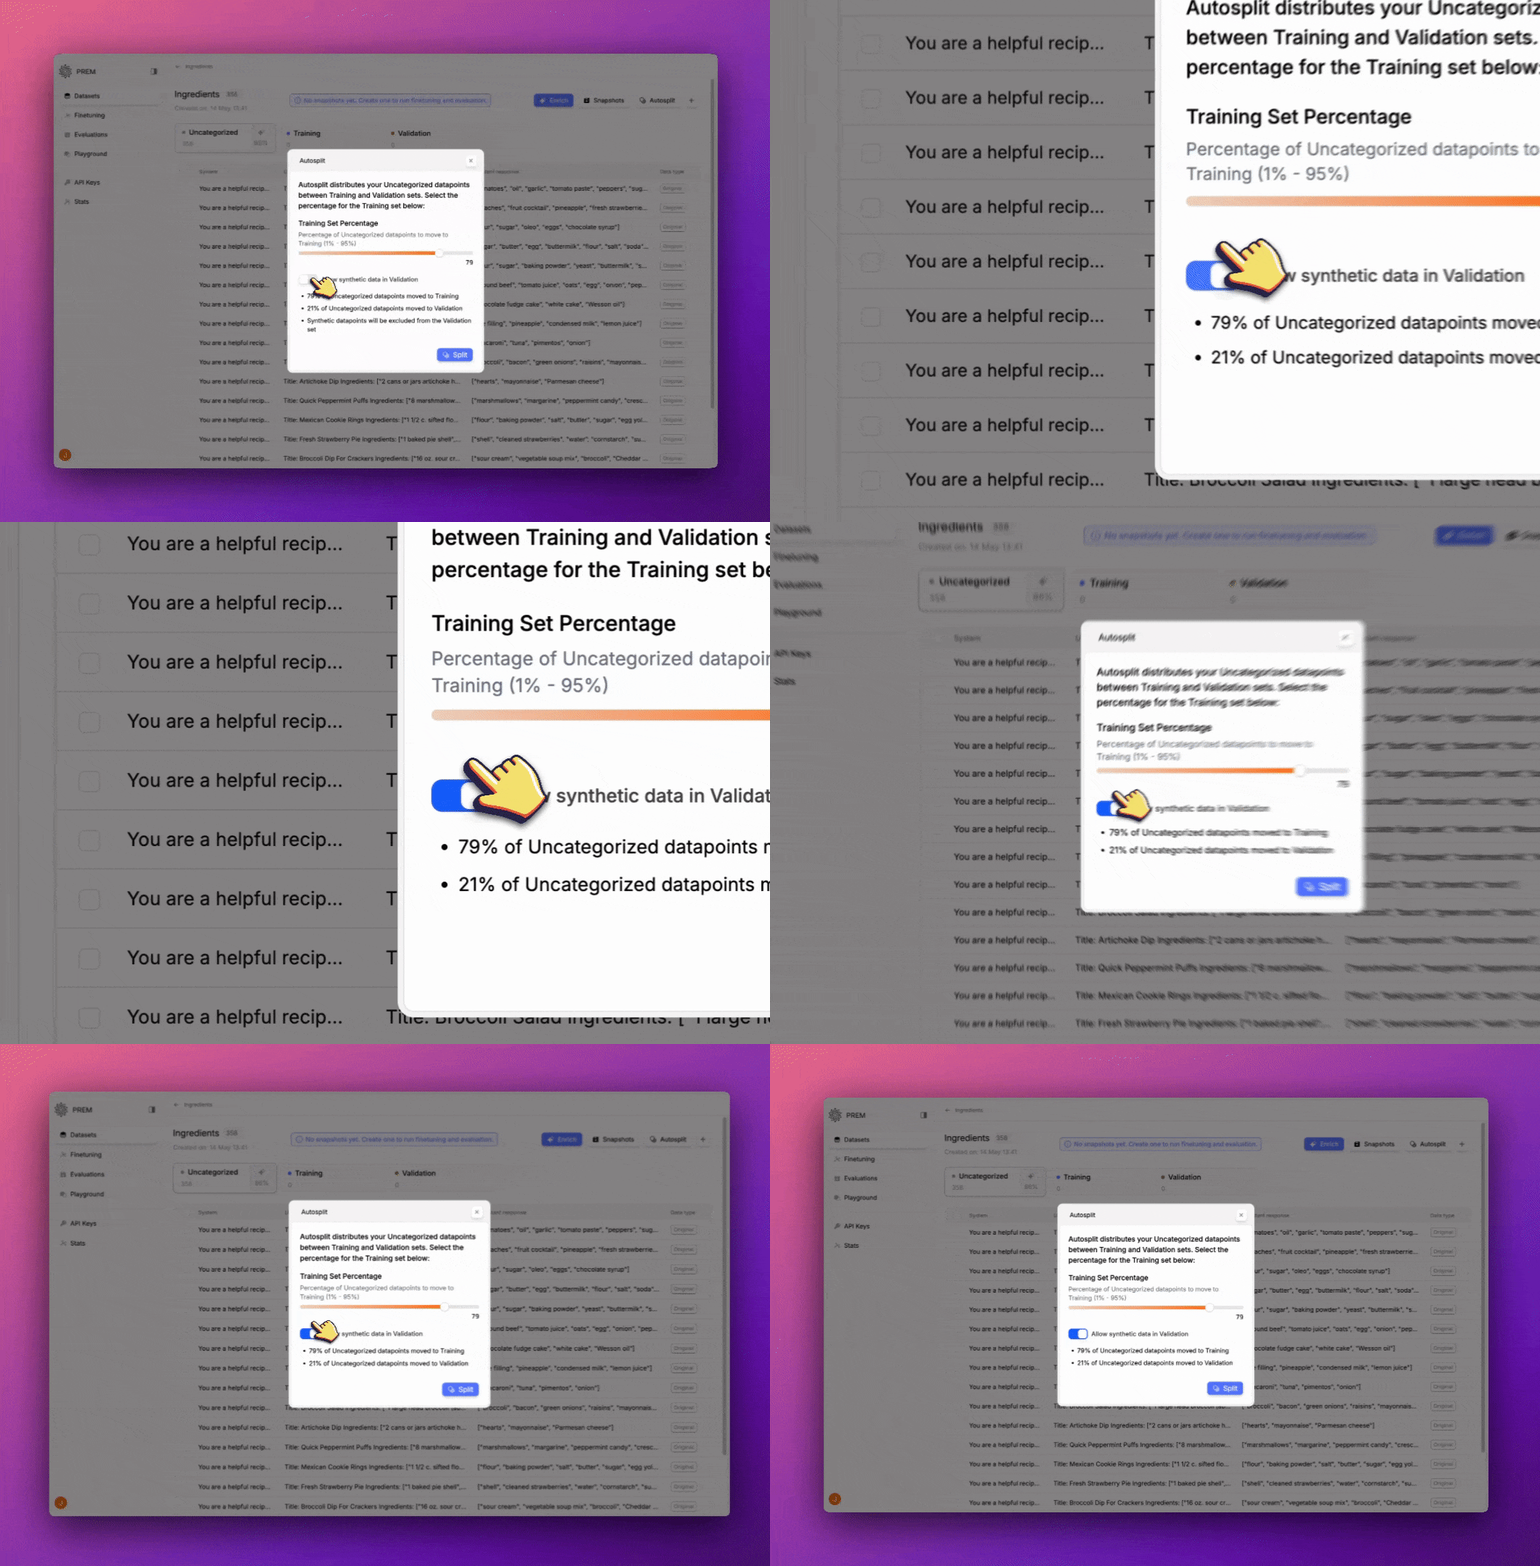
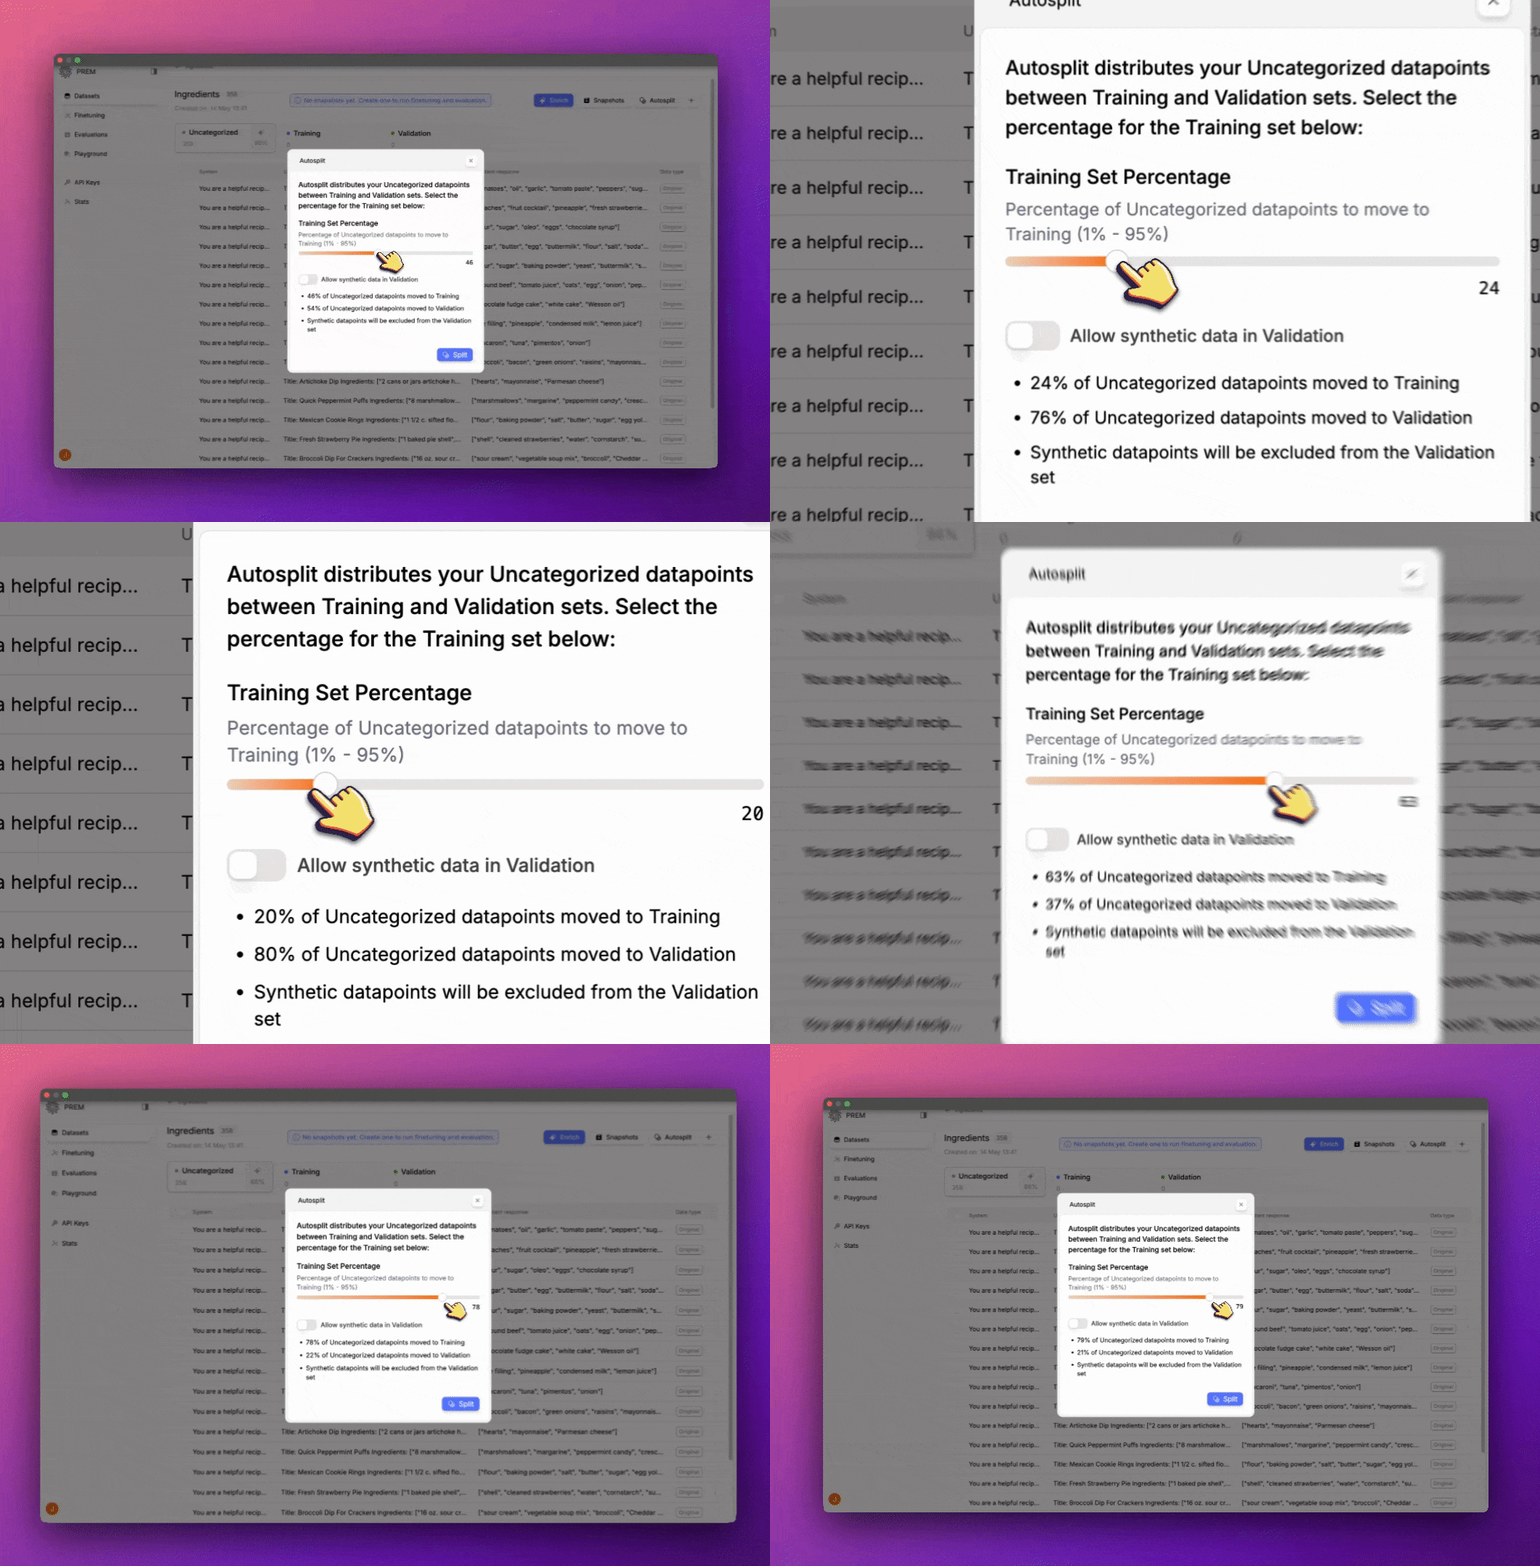 Click this toggle to allow synthetic data in Validation.
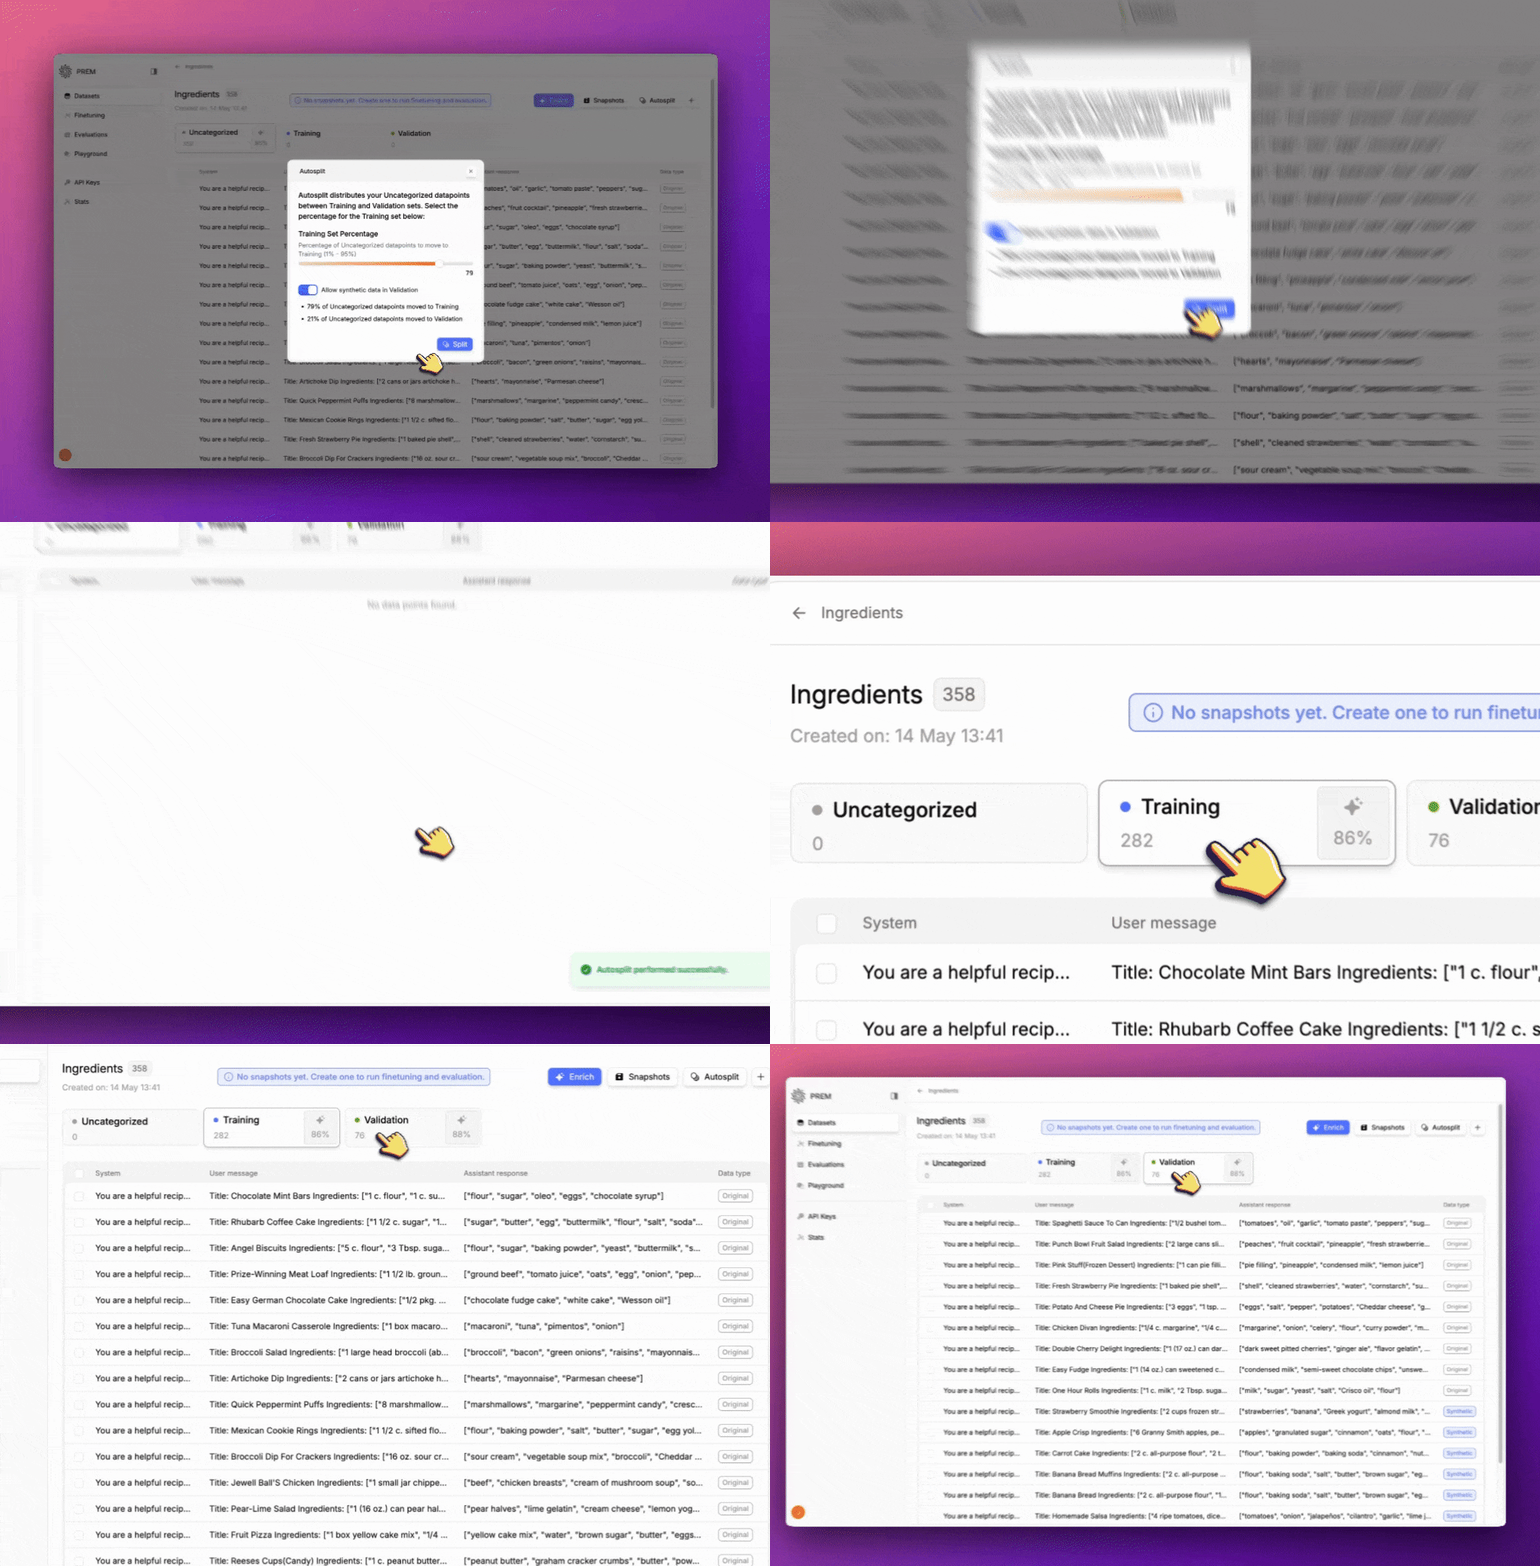
 Click Split to autosplit your dataset. You'll see that the dataset is now split into Training and Validation.
 Now that your dataset is split, you can create a [Snapshot](/datasets/create-snapshot) to use in Finetuning or Evaluation.
**Click the card below to learn how to create a Snapshot.**
Create a Snapshot to use in Finetuning or Evaluation.
# Next Steps
Create a Snapshot to use in Finetuning or Evaluation.
Create a Finetuned Model to use in Evaluation.
Create an Evaluation to use in Evaluation.
Use the Playground to test your model.
Now that your dataset is split, you can create a [Snapshot](/datasets/create-snapshot) to use in Finetuning or Evaluation.
**Click the card below to learn how to create a Snapshot.**
Create a Snapshot to use in Finetuning or Evaluation.
# Next Steps
Create a Snapshot to use in Finetuning or Evaluation.
Create a Finetuned Model to use in Evaluation.
Create an Evaluation to use in Evaluation.
Use the Playground to test your model.