

Creating Your First Project
Projects provide a guided, end-to-end workflow for AI model development. This guide walks you through creating a complete project from start to finish.Step 1: General Setup
Navigate to Projects
From the main dashboard, click Projects in the left sidebar, then click + Create Project.
Step 2: Create and Handle Dataset
You have two paths for dataset creation. Choose the one that fits your situation:Path A: Upload Existing JSONL Dataset
Upload your existing dataset in JSONL format.Upload Your JSONL File
- Dataset Name: Enter a descriptive name
- Upload File: Select your properly formatted JSONL file
- Validation: The system will automatically validate your dataset format
Need help with JSONL format? See our Datasets Overview for detailed formatting requirements.
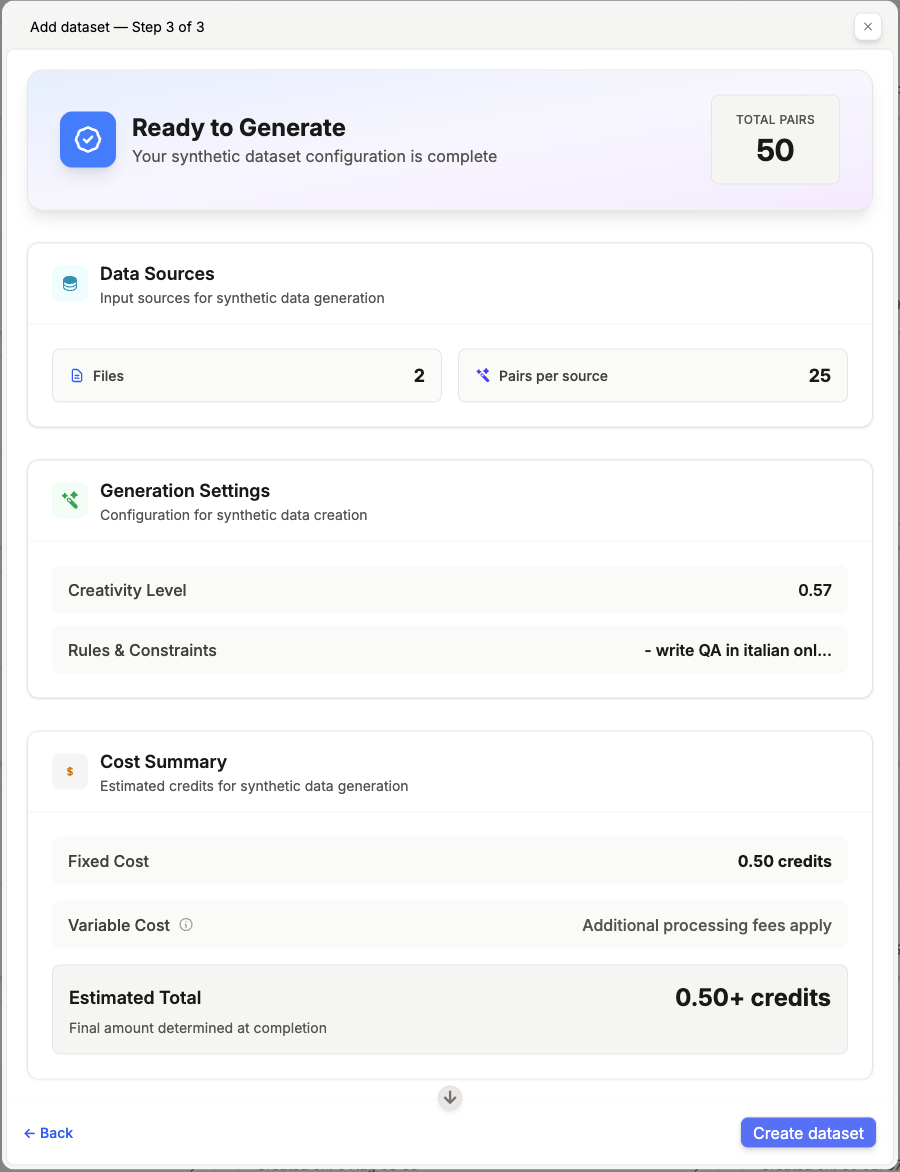
Path B: Generate Synthetic Dataset
Generate synthetic dataset from your content (PDFs, web pages, youtube videos)Choose Data Sources
Select your input sources for synthetic dataset generation:
- Files: PDF, DOCX, TXT, HTML, PPTX
- YouTube Videos: Individual videos or playlists
- Web URLs: Website content extraction
- Mixed Sources: Combine multiple input types
Configure Advanced Settings (Optional)
Rules & Constraints: Define generation requirementsQuestion Format: Guide question structureAnswer Format: Define expected answer styleYou can also provide QA Examples to better steer the synthetic data generation.Creativity Level: Adjust generation diversity (0-100)
Snapshot Creation
Regardless of which path you chose (upload or synthetic generation), you need to create a snapshot:Autosplit the dataset into training and validation split. If you find challenging QA pairs that could be a good test case during evaluation, manually select them and place them in validation set.
Step 3: Fine-tune Your Model
Create New Fine-tuning Job
Start by creating a fine-tuning job:
- Job Name: Give your fine-tuning job a descriptive name
Dataset Analysis
The system will analyze your dataset automatically:
- Data Quality Assessment: Checks for formatting and consistency
- Content Analysis: Analyzes patterns and complexity
- Recommendations: Suggests optimal training models and parameters
This analysis typically takes 2-5 minutes and helps optimize your training configuration.
Run Experiments
Start the fine-tuning process:
- Experiment Selection: Choose which experiments to run
- Monitor Progress: Track training progress in real-time
- Compare Results: View performance across different configurations
Fine-tuning duration varies from 30 minutes to several hours depending on dataset size, model complexity, and chosen parameters.
Step 4: Define Metrics
Before evaluating your model, define the metrics that will measure success for your specific use case:Generate Rules
Describe your evaluation needs and let our AI generate the rules for you.
Provide:
- metric name
- metric description
Well-defined metrics are crucial for meaningful evaluation. Take time to think about what “success” looks like for your specific use case. Learn more in our Evaluation Metrics Guide.
Step 5: Evaluate Your Model
Choose Metrics
Select the metrics you want to use for evaluation:
- Your Custom Metrics: The metrics you defined in the previous step
- Available Metrics: Pre-built metrics from the Prem library
Start Evaluation
Begin the evaluation process on the validation split, by using the previously defined metrics.
Review Evaluation Results
Analyze the results to understand model performance:
- Metric Scores: See how each model performed on each metric
- Detailed Breakdowns: Examine individual response quality
- Identify Weaknesses: Find areas where models need improvement
Evaluation typically takes 5-15 minutes depending on test dataset size. Learn more about evaluation strategies in our Evaluations Guide.
Project Complete
Congratulations! Your project is now complete. You have:- ✅ Created or uploaded a quality dataset
- ✅ Successfully fine-tuned your model
- ✅ Defined custom metrics for your use case
- ✅ Validated performance through evaluation
- ✅ Generated a production-ready AI model
Next Steps
Deploy Your Model
Learn how to deploy your fine-tuned model for production use.
API Integration
Integrate your model into applications using our API.
Model Experiments
Run experiments to further optimize your model.